
There are many reasons that may require bathtub replacement. First, you maybe renovating your home and feel like a new bathtub model would be great. Secondly, your bathtub may have cracks and chips which make bathing uncomfortable. Lastly, the tub may be looking old and discolored after years of use. The following guidelines show how to remove and replace a bathtub in easy steps
What you will need
Contents
Bathtub removal is not easy. You may need an expert to do it. However, if you enjoy do-it-yourself jobs, then these are the materials you will need:
- Hammer
- Adjustable wrench
- Pliers
- Screwdrivers of different sizes
- Utility knife
- Crowbar
- Socket wrench
- Safety goggles
- channel lock pliers
- PVC cleaner
- Handheld grinder with a diamond bit for time removal
- Rust removal solvent
What to do before bathtub removal

Before you start, always make sure the area is well prepared. Put some taped plywood on the floor and cover with a cloth for protection. Remember to shut off the main water pipe and power. Also, remove the toilet and sink if they will get in the way. Moreover, you should measure the dimensions of your tub and doorway. This will help you know what size of tub to get. Also, note the location of your drain pipe beforehand.
How to remove the bathtub drain

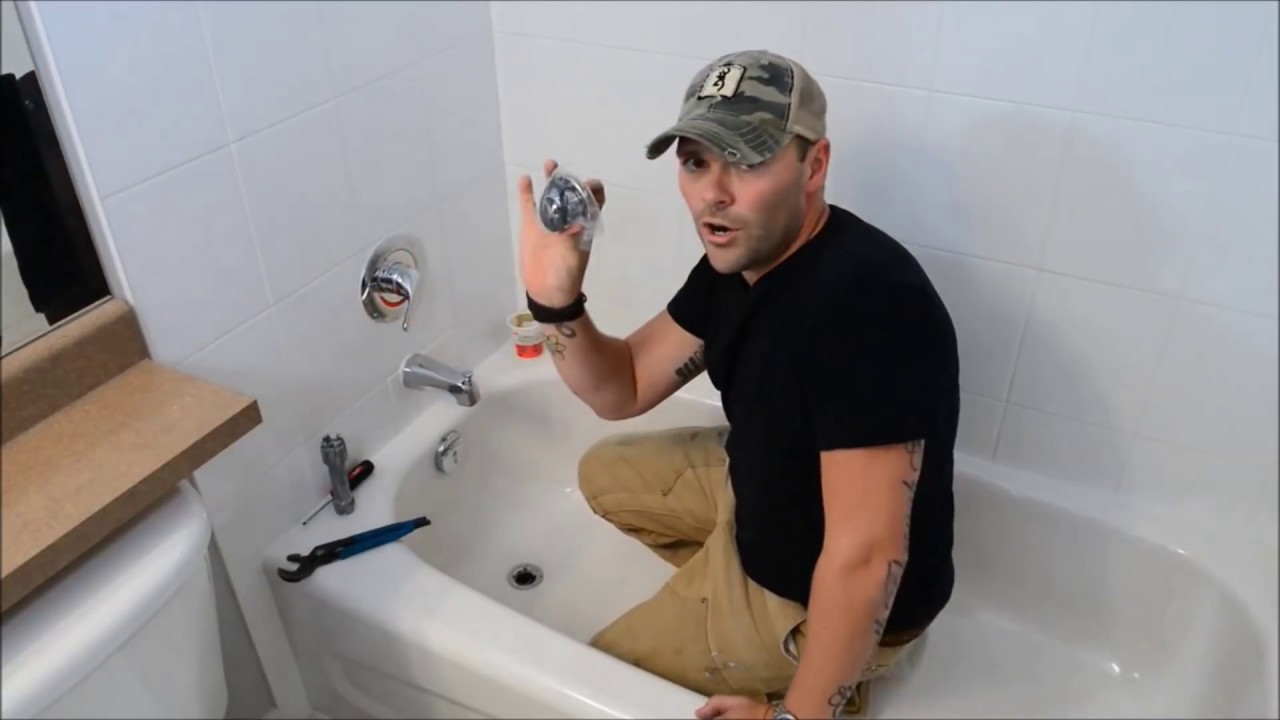
Once the water connection is shut, your next task is to unscrew the faucet, drain, and other attachments. To remove the drain flange, use a strainer wrench or a pair of needle-nose pliers. The waste and overflow cover on the sides of the tub should be undone with a screwdriver. A pair of channel lock pliers will be needed to detach the pipes found under the T-shape placed at the intersection of the drain and overflow valve. When the nut joining the drainpipe is loosened, use your hand to unscrew it and lift out the whole section. Now with all these units undone, the tub spout can be safely removed so that your fitting is not blocked.
Separating the tub from the wall

You need to clear the wall so as to reach the nails and screws holding the tub flange to it. To do this, measure out and draw a guideline around your old bathtub on each side. You can also cut out a strip horizontally from the wall using a grinder with a diamond blade in case your wall is tiled. It should be 6-7 inches above the tub flange.
Take caution not to damage the studs or other elements such as pipes and wires placed in those spaces. The individual tiles will pop out individually with the help of a chisel. After this, remove the nails and screws all around the top of the tub and sides with a utility knife and pry bar. In addition, any stringer support hanging on the wall should be removed.
How to remove a bathtub
 Trim away the caulk and any trim molding around the bathtub using a utility knife. With the help of friends, pull out the tub and place it on the plywood.
If the tub sticks, a crowbar will come in handy to aid you in prying it loose. Once the bathtub is out, stuff a large piece of clothing on the now open drain pipe. This helps keep out the toxic smell from sewer gases and also ensures that nothing enters the hole by accident. Remember to wipe away all debris and pick any loose nails before your replacement bathtub is installed.
Bathtub replacement: what you need
- New bathtub
- Measuring tape
- Ledger boards
- Lever
- Drill
- Screws
- Screwdriver
- Shoe tube
- Strainer wrench
- Plumbers putty
- Plastic putty knife
- 2 by 4s
- PVC glue
- Tiles
- Apply grout
- Overflow trim and flange
- Drain shoe and gasket
- Adhesive
How to install
Replace damaged parts of the drain, including water and overflow unit. Decide on how you will connect this to the drain pipe. Next, make any necessary cuts then make any permanent links.
Dry fit the overflow tube and the shoe working with the tub turned on its side. The gasket should be placed on the overflow flange. Position it behind the overflow hole and insert the connection forming an overlapping “T” formation. Set up the drain strainer on the drain flange.
Installing drain strainer
Move the bathtub back into place. If correctly done, the drain flange will fit on the stringer installed. Next, place a rope of plumbers putty under the drain flange. Screw-in the flange while holding the shoe with the other hand. Tighten with a straining wrench while cleaning away the excess putty with a plastic putty knife.
Using a straining wrench to screw in the flange
:max_bytes(150000):strip_icc()/Plumberinstallingbathtubdrain-GettyImages-185313098-59e68667b501e80011d8b7b6.jpg)
After this, move the bathtub into the right position with the help of a friend. You will need the 2by4s you used to remove the old bathtub Avoid damaging the waste and overflow unit that sticks out under the tub. Gently slide the tub into space. Your friend should guide the overflow tube into the drain line as you do this.
Using 2by4s to position bathtub

Lastly, attach back your spout and shower end. Check if the plumbing is fine. Secure the studs to attach your bathtub. Afterward, install back the baseboards and smear molding along the top of the tub and in front.
Reapply your drywall and use waterproof paint to restore the walls you took out earlier before installation. You may install tiles to fit using the cement backer board, adhesive, and grout. The tub-and-tile caulk should be applied where the tub meets the tiles. Before using caulking to line up your bathtub, remember to reapply the screws and nails too.
Conclusion
Once this bathtub removal and replacement are done, you can now go ahead and redecorate your bathroom to fit your taste. You can also watch how to remove and replace a bathtub on video by clicking here.

Leave a Reply